DIY & Building, Bathroom & Plumbing
How To Fix A Dripping Tap (A Step-By-Step Guide)

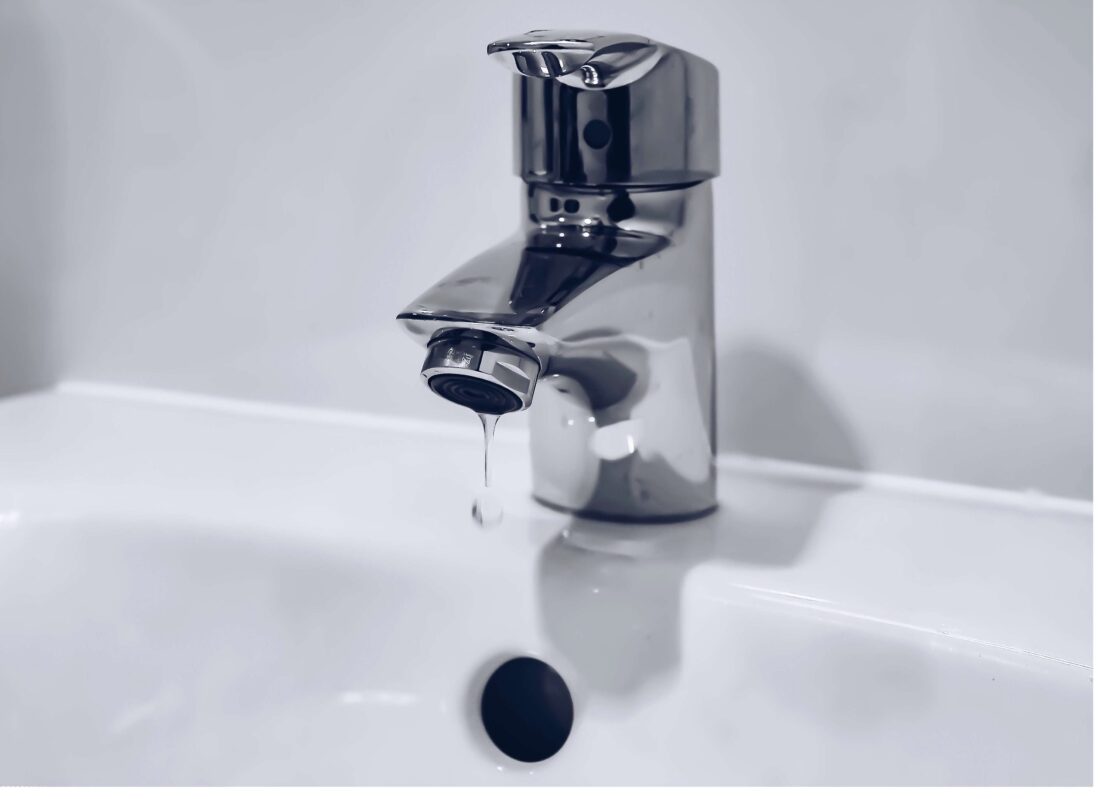
There are few things quite as irritating as the noise of a tap that won't stop dripping, however it is important to fix a dripping tap for more reasons than just your sanity! This easy guide on fixing a dripping tap will help you tackle that annoying leak that has been on your to-do list.
We all know that water conservation is important, by fixing your leaky tap, not only are you conserving water but also energy. There are plenty of reasons why we should all be making our best efforts to conserve water and people tend to forget how much water a dripping tap can actually waste. It’s not just a couple of litres we’re talking about here, but between 5,000 and 10,000 litres a year.
But don’t worry, Woodie’s has you covered, this guide will show you exactly how to go about fixing that annoying dripping tap, whether it's in your kitchen, bathroom or back garden. No need to hire a professional plumber, minimal handyman skills required!
Understanding Different Types of Taps
Firstly, you will need to understand exactly what type of tap you are dealing with. There are two different kinds of traditional taps used in homes: Compression taps and mixer taps. Overall, the process of how to fix a dripping compression tap and how to fix a dripping mixer tap are pretty similar.
Both of these taps use O-rings to prevent water from leaking around the spout base, but they differ slightly in other aspects.
Compression taps are the more traditional of the two, operated by twisting on and off. Usually, compression taps have both a hot and cold side, this can be controlled by the same valve. These taps usually leak from the spout when there is an issue with the tap washer. Over time the washer that shuts off the water flow can become damaged or get worn out. The most typical fix for these types of leaking taps is to replace this damaged washer.
Mixer taps on the other hand are slightly different. Suited to their name, these taps mix hot and cold water together through a singular spout. These taps can be more popular than compression taps as they tend to make it easier to get the desired temperature you are looking for. If these taps start dripping it is likely a sign that the ceramic disc valve needs to be replaced. This is the flow regulating valve inside these types of taps and any signs of dripping water can usually be attributed to these valves being worn out or damaged.
Tools and Materials Needed

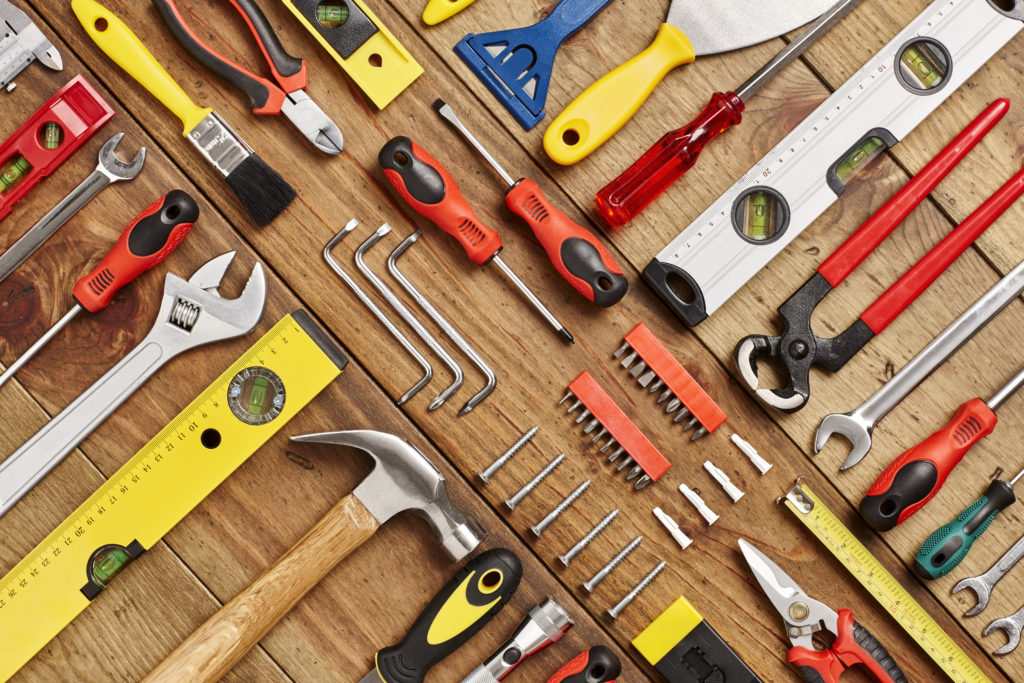
There are a few hand tools and plumbing materials that will be necessary for this job such as:
Be sure to take the time to figure out exactly what type of tap you are dealing with, it is very important to ensure you have the correct replacement part specific to your tap type.
Step-by-Step Repair Guide
1. Remove the Tap Handle
- Find the valve that controls the water going to the taps and turn it off (this is usually underneath the sink or basin)
- Find the leaking tap you’re going to fix, then remove any decorative caps. You can use a flathead screwdriver to pry these off.
- Unscrew the handle, use a screwdriver again to remove the screw and then gently remove the handle.
2. Access the Internal Mechanism
Now you need to access the internal mechanism of your tap, this part can vary slightly depending on the type of tap you are working with.
- For compression taps, you want to use an adjustable spanner to unscrew the valve cover. This will expose the washer that needs to be replaced.
- For mixer taps, remove the cartridge retaining nut to get access to the ceramic cartridge you will be replacing.
3. Inspect and Replace Components
After getting access to the washer of your compression tap:
- Examine the part for signs of damage or wear.
- Replace it with your new washer (make sure it is the same size to prevent any future tap dripping).
Similarly, if you’re dealing with a mixer tap:
- Check the ceramic cartridge for signs of damage or wear.
- If faulty, replace the cartridge with a new cartridge that is compatible with your tap.
4. Check and Replace O-Rings (if applicable)
For both taps, it is a good idea to check the O-rings for any damage or wear next. Replace any worn or damaged O-rings to ensure a proper seal on your tap.
This is an especially important step for mixer taps!
5. Reassemble the Tap
Now that your damaged tap parts have been inspected and replaced, you can begin to reassemble the tap. Reverse the disassembly steps and ensure all components are tightened securely.
Tip: Make sure to avoid over-tightening any parts, as this can cause future damage to your taps.
6. Restore Water Supply and Test:
Finally, you can turn the water supply back on. Test the tap by turning it on and off and checking for any leaking.
Dripping Tap FAQs:
What causes a tap to drip?
The most common causes usually include worn-out washers, damaged O-rings or faulty ceramic cartridges.
Do I need a plumber to fix a dripping tap?
Not necessary, by following this guide and using the right tools, most leaking taps can be fixed as a DIY project.
Does a dripping tap use a lot of water?
Yes, dripping taps can use up a lot of water, between 5,000 and 10,000 litres per year! Take a look at this article about water conservation for more information.
What if my tap continues to drip after repairs?
If the problem persists, it may be indicative of a more serious issue. In this case, it would be best to consult a professional plumber for assistance.
Are there preventive measures to avoid dripping taps?
The best preventative measure you can take is regular maintenance. This includes cleaning aerators and checking for leaks etc. This is the best way to prolong the lifespan of your taps!
Say Goodbye to Leaks With Woodie’s
 Source: pexels.com
Learning how to fix a leaking tap has multiple benefits. Your ears will be thankful for no more annoying dripping noises and your pockets will be thankful to save on the cost of a plumber. Not to mention having a clearer conscience knowing that you are doing your part to help out with water conservation.
This process may seem daunting, but by following this simple guide and with the right plumbing tools you can tackle these repairs yourself.
Check out our Woodie’s Community for more helpful guides like how to prevent mould in your bathroom or get inspired with our 8 Creative Splashback Ideas blog. Shop with Woodie’s to find all the materials you need to get started today!
