How to Install a Bath Screen
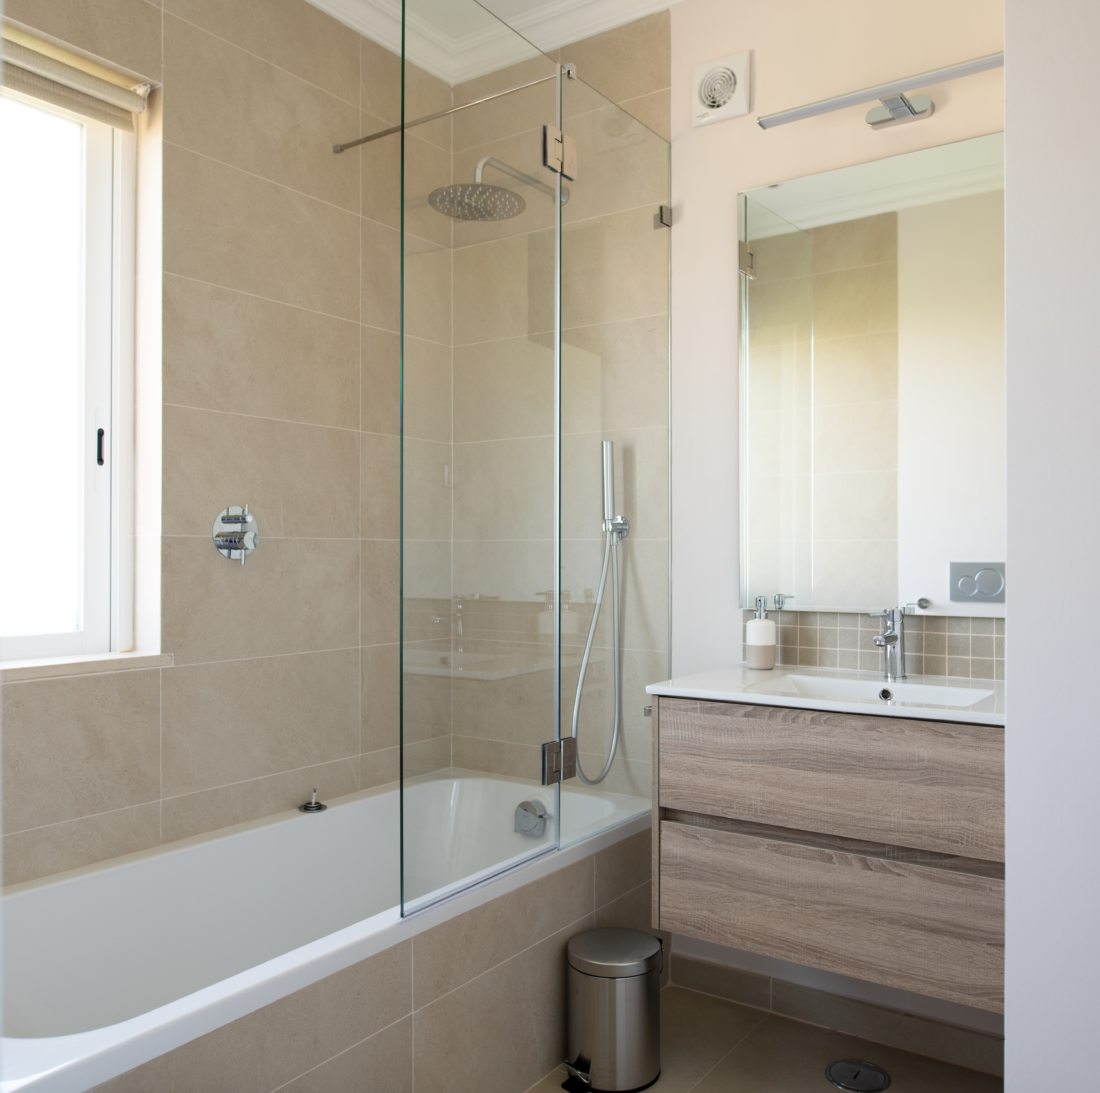
Installing a bath screen is a simple way of creating a shower enclosure within your bath. Not sure where to start? Follow our simple steps below!
Tools for the job
Step by Step Guide
Step 1
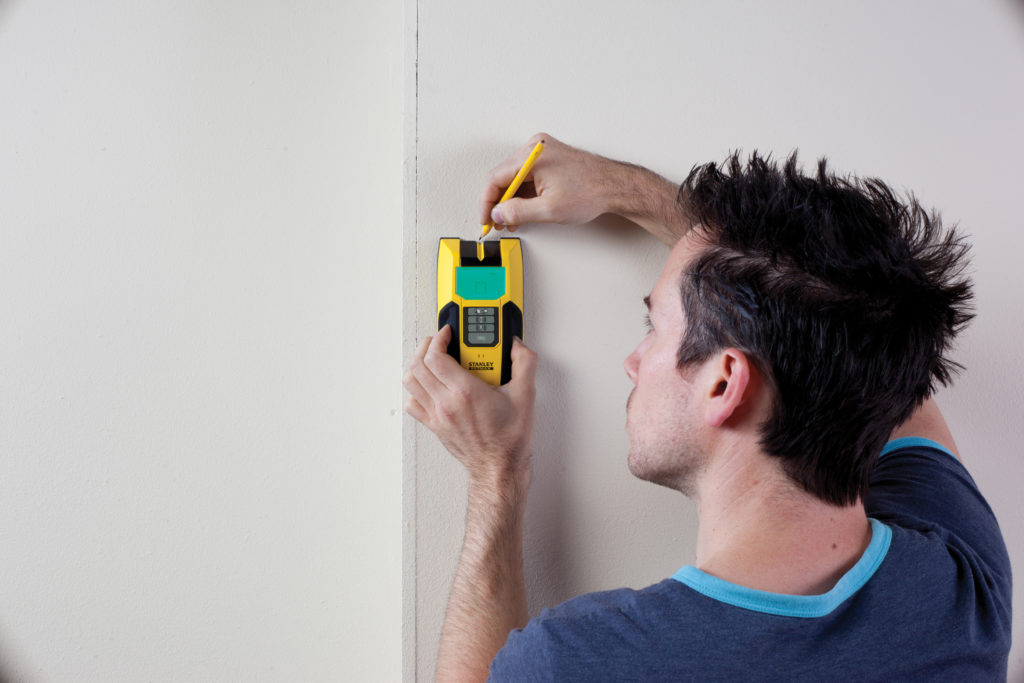
Get familiar with the wall you're working on. Check to see if it's a solid wall or plasterboard wall. Use a cable and pipe detector to determine if there are any hazards behind where you will be drilling.
Step 2
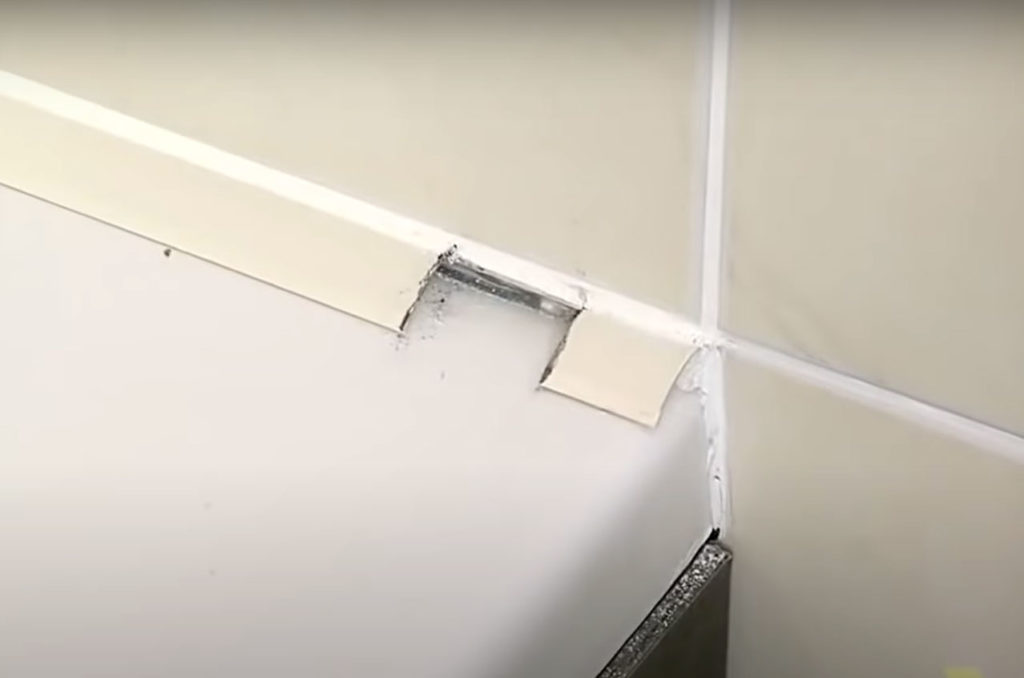
Hold a U-channel from the bath screen in position against the wall at a 40mm depth from the edge of the bath. You may have to cut away any existing silicone or beading so that the u channel fits flush to the bath. Use a spirit level to make sure it's level.
Step 3
When you're happy the U-channel is level, mark the position of the screw holes on the wall. Hold the drill perpendicular to the tile. Make sure the drill is not on hammer action. Insert the wall plugs into the holes. Ideally past the depth of the tile.
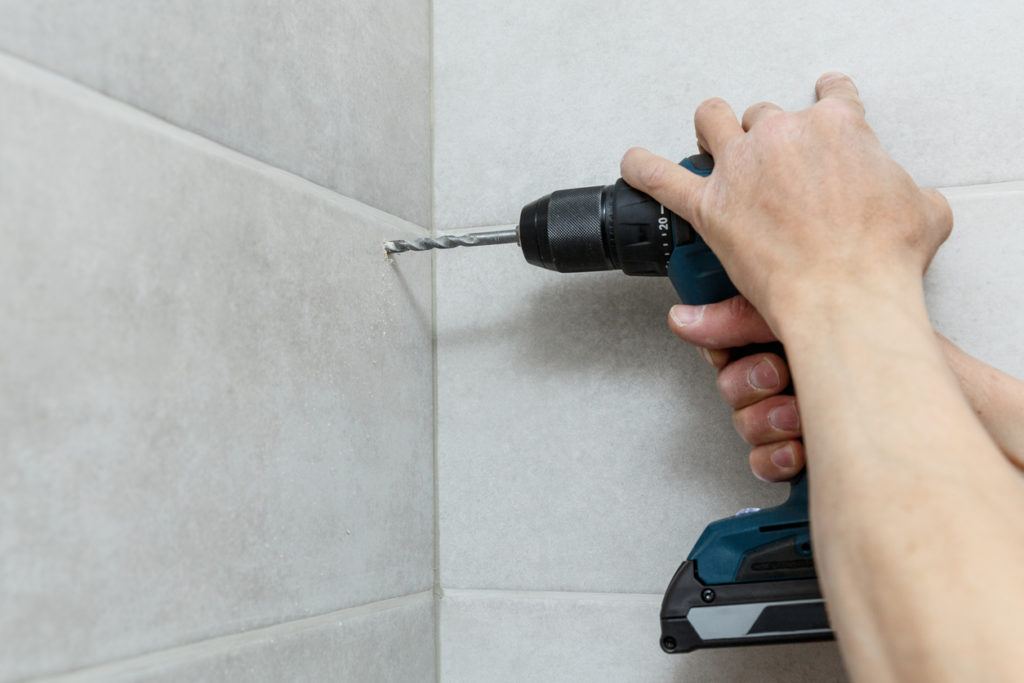
Top tip: cover the marks with masking tape to prevent the drill from slipping off the tile.
Step 5
Place a silicone bead along the back of the U-channel and hold in position. Secure the U-channel with the appropriate screws and fixings. Seal the bottom of the U-channel to the bath with silicone
Step 6
Fit the rubber seal to the bottom of the glass screen. Insert the screen into the U-channel.
Step 7
Position the screen so that it sits on the bath. Hold the screen in place while you drill pilot holes into the screen frame using the guide holes on the U-channel.
Secure the screen in place with screws. Place cover caps over the u channel and screws.
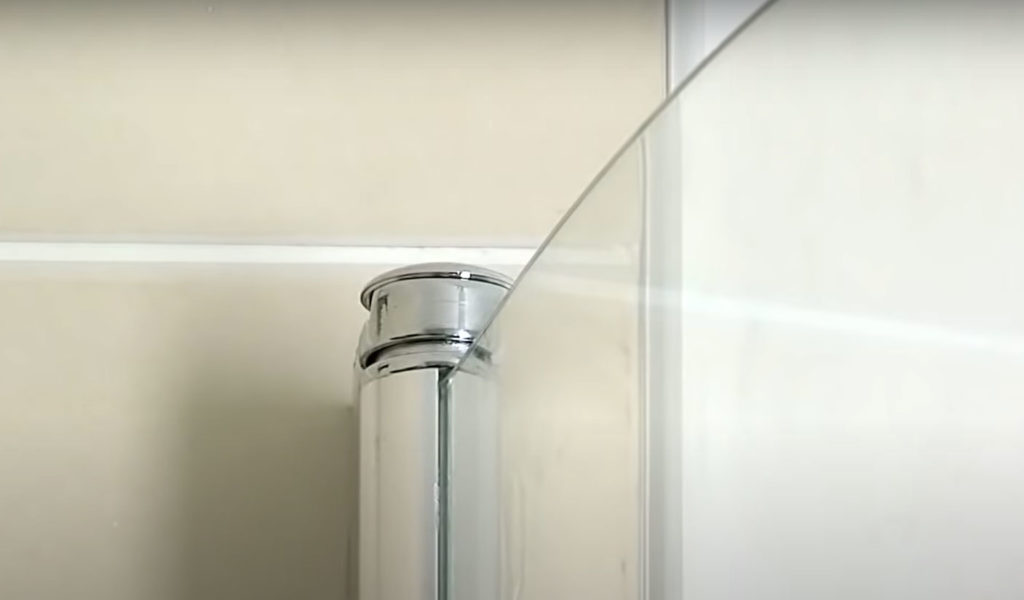
Top tip: use a hand screwdriver when securing screws as you have more control and can avoid damaging the screw heads.
If there's a handle, now is the time to secure this to the bath screen.
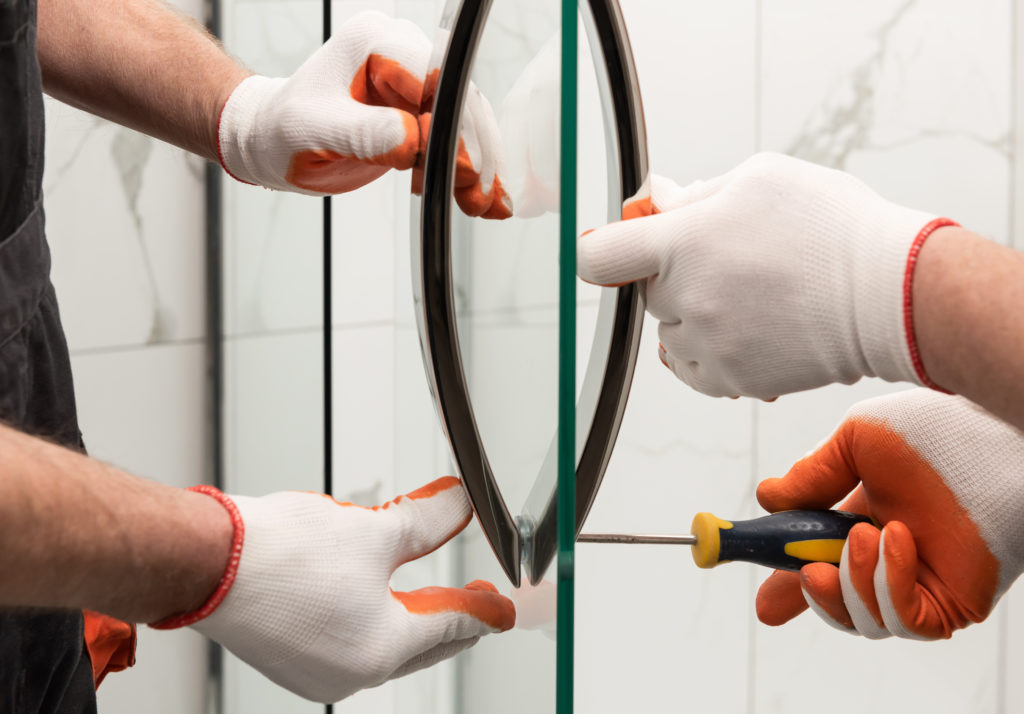
Ready to install a new bath screen? We've got everything you need to get you started!
