Paint & Decorating, Bathroom & Plumbing
How to Paint a Radiator: A Step-By-Step Guide

Is your radiator looking a little worse for wear? Radiators can be expensive to replace, not to mention tricky! If your radiator needs some attention, maybe a fresh paint job could be the improvement you’re looking for.
Painting radiators is an easy alternative to replacing them. Radiator paint is durable and can protect your radiator against wear and tear while adding a new look to your entire room.
With a wide variety of metal paint to choose from, follow this guide on how to paint a radiator and see just how easy the process is.
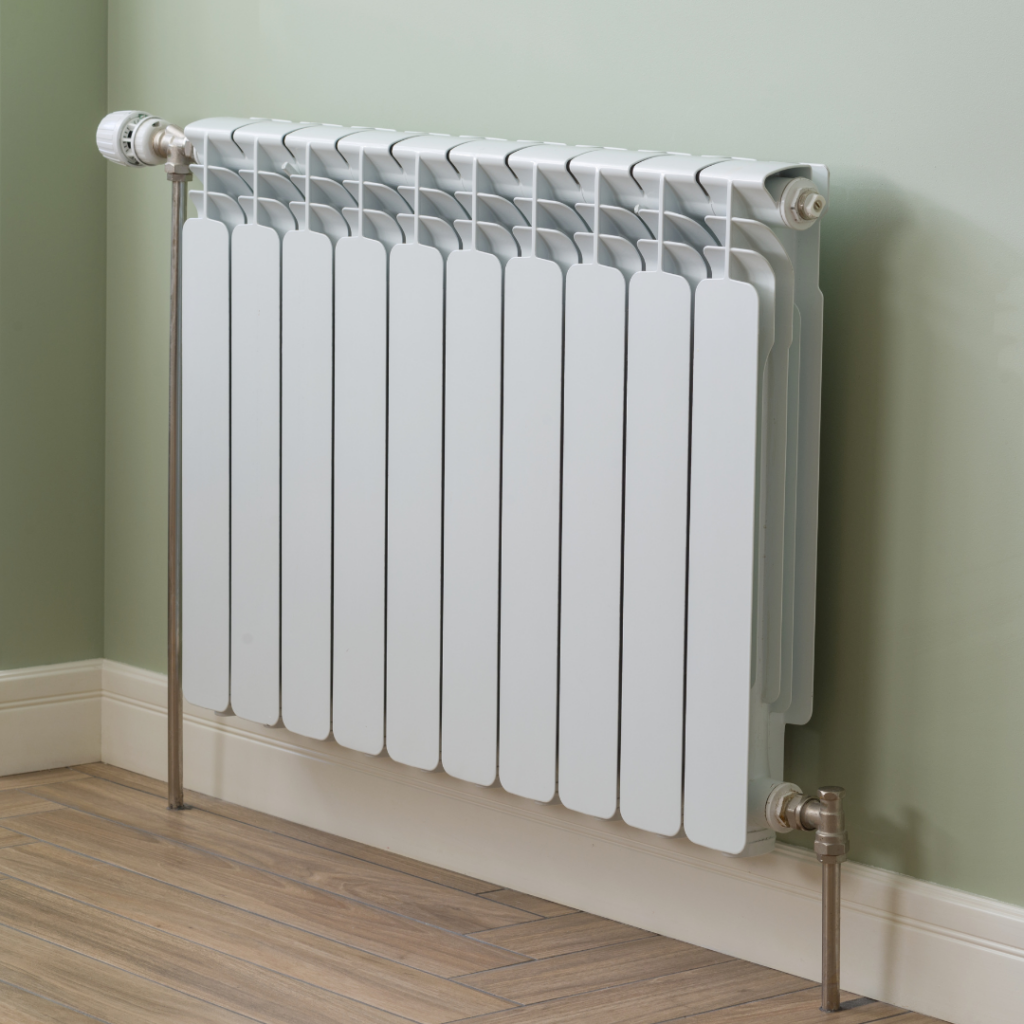
How to Prepare Your Radiator for Painting
Putting time into the preparation will make the entire process much easier.
Before beginning the painting process, ensure that your radiator is cleaned thoroughly, then begin sanding it. After that, another quick clean to remove any debris will be necessary, and you can get started on priming the radiator for painting.
Before getting started, ensure you have the right decorating tools for the job.
You will need:
- Paint brushes
- Paint rollers
- Sandpaper
- Primer
- Radiator paint
- Masking tape (if you want to cover pipes or skirting boards)!
If your radiator is rusted anywhere, try to remove it in the sanding and cleaning process to prevent future issues. Similarly, you will want to remove any paint you find on your connecting pipes to ensure a cohesive look to your refurbished radiator. A good tip here is to cut your sandpaper into inch-wide strips and wrap them around the pipes to sand easily and remove all the old paint.
Also, it is very important to choose a suitable metal radiator paint for the job. This will ensure that the paint can withstand the temperature of your radiator when it is in use. It protects the radiator's enamel and so will not peel or bubble.
Be sure to wait 24 hours after painting before turning your radiator back on!
Step-by-Step Guide to Painting a Radiator
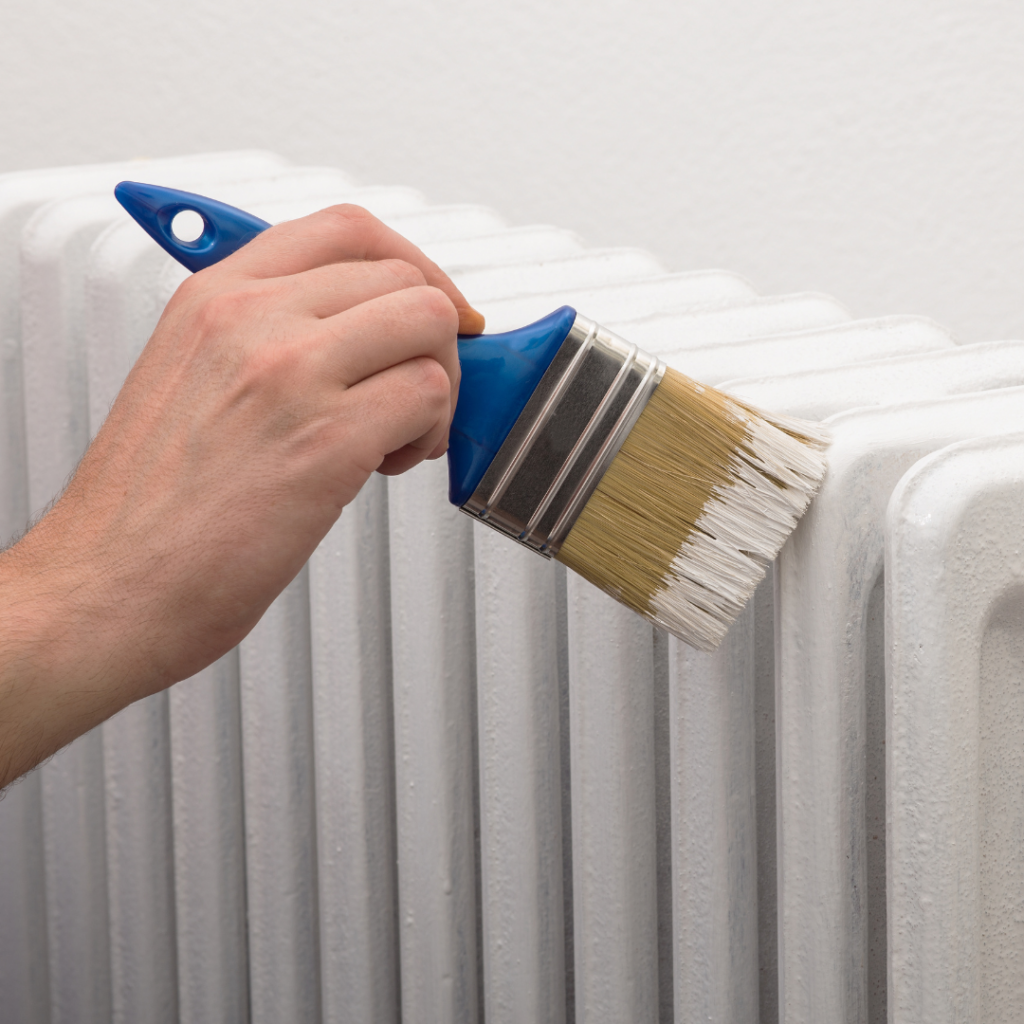
Step 1: Turn Off the Heating and Ventilate the Room
The first step is very important, make sure that your heating is turned off and your radiator is completely cool. Open any windows you can to ensure good ventilation and to prevent any fumes becoming hazardous.
Step 2: Sand and Clean the Radiator
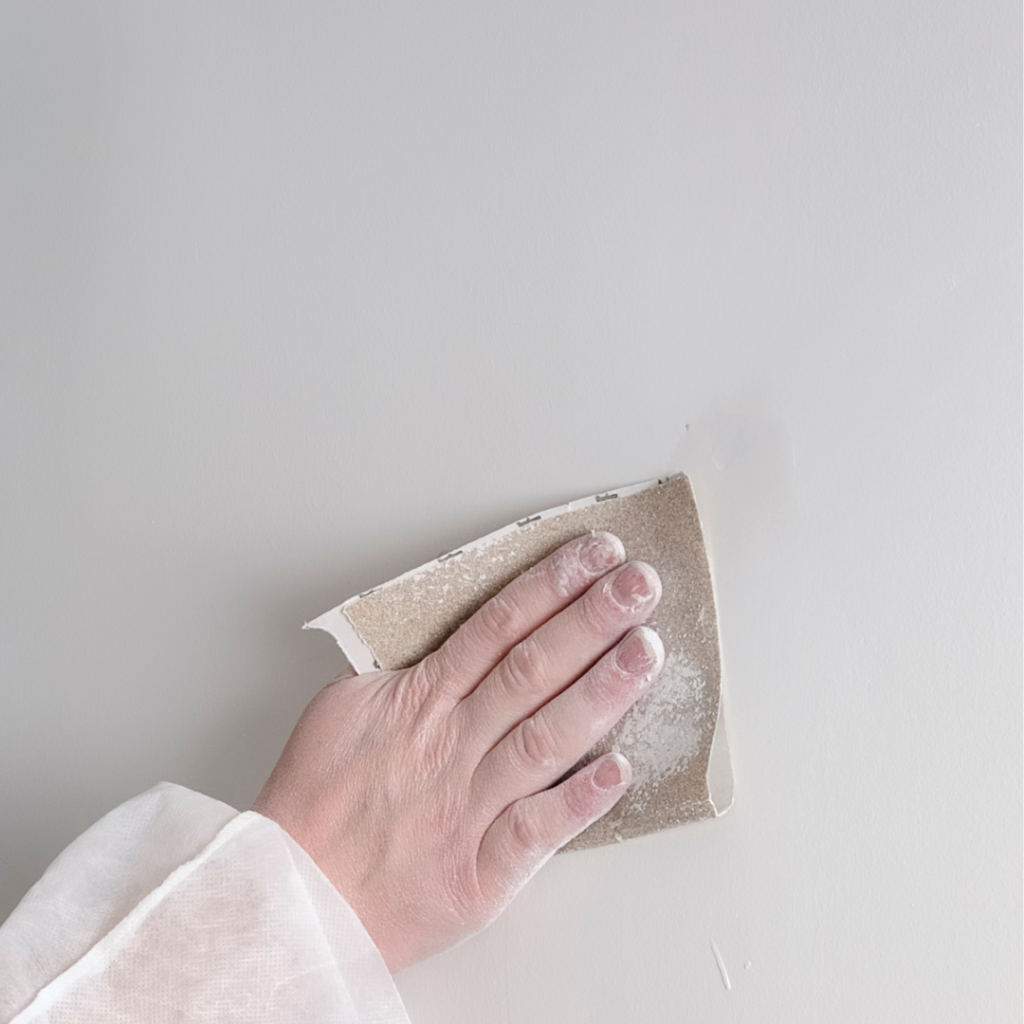
This step is very important as radiators can collect more dust than you would expect.
Wipe the radiator with a damp cloth and then dry. After this, you can begin to sand, using a mix of high and low-grit sandpaper. Browse our sanding products to find the best option for your radiator. This will smoothen the surface and remove any rust or dirt. It will also help the paint stay in place. Doing this properly will guarantee an even finish on your radiator. For more tips on removing rust, check out our guide on How to Remove Rust From Just About Everything.
Step 3: Apply Primer
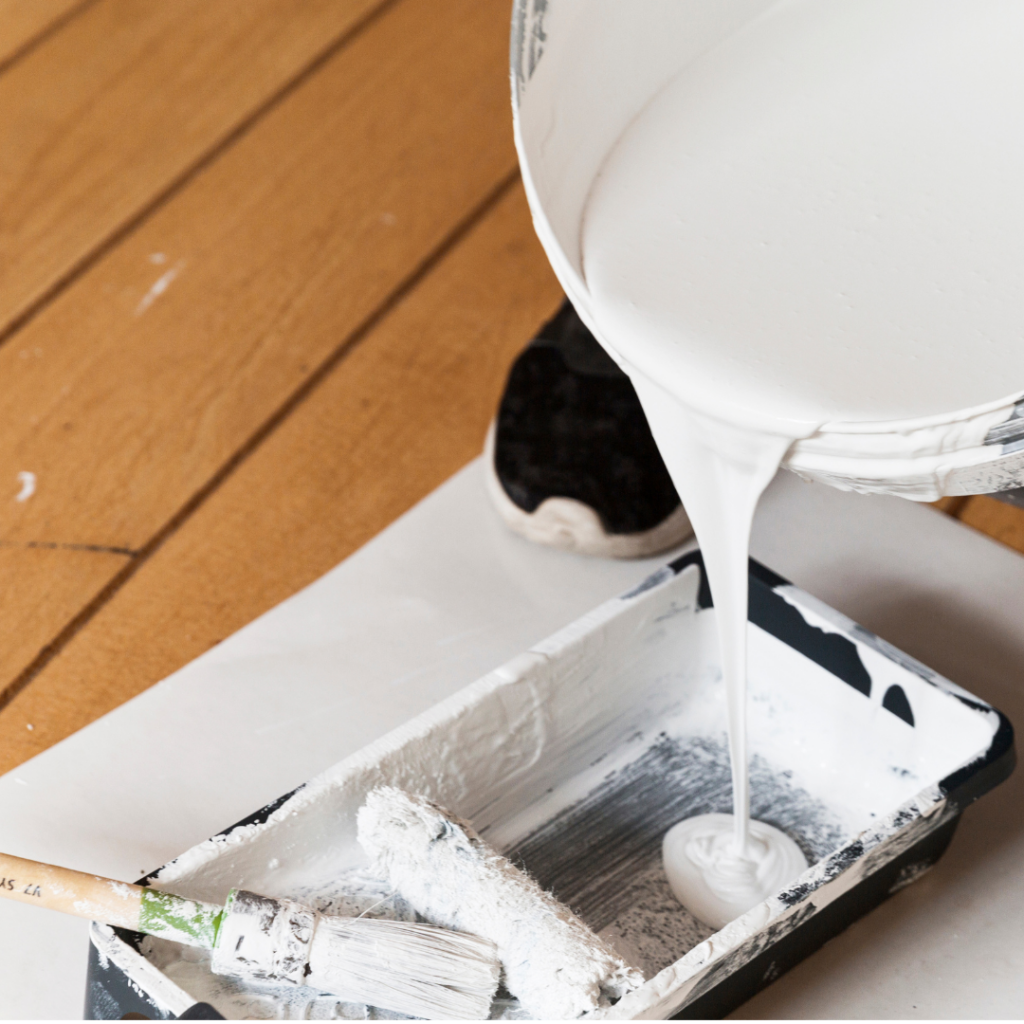
Next you can get started on applying your primer. Make sure to choose an appropriate primer for radiators to ensure the paint adheres properly. If you encounter a lot of rust spots when sanding, think about using an anti-corrosive primer to prevent further damage. Explore our wide range of primers to choose the most suitable option for you.
Step 4: Paint the Radiator
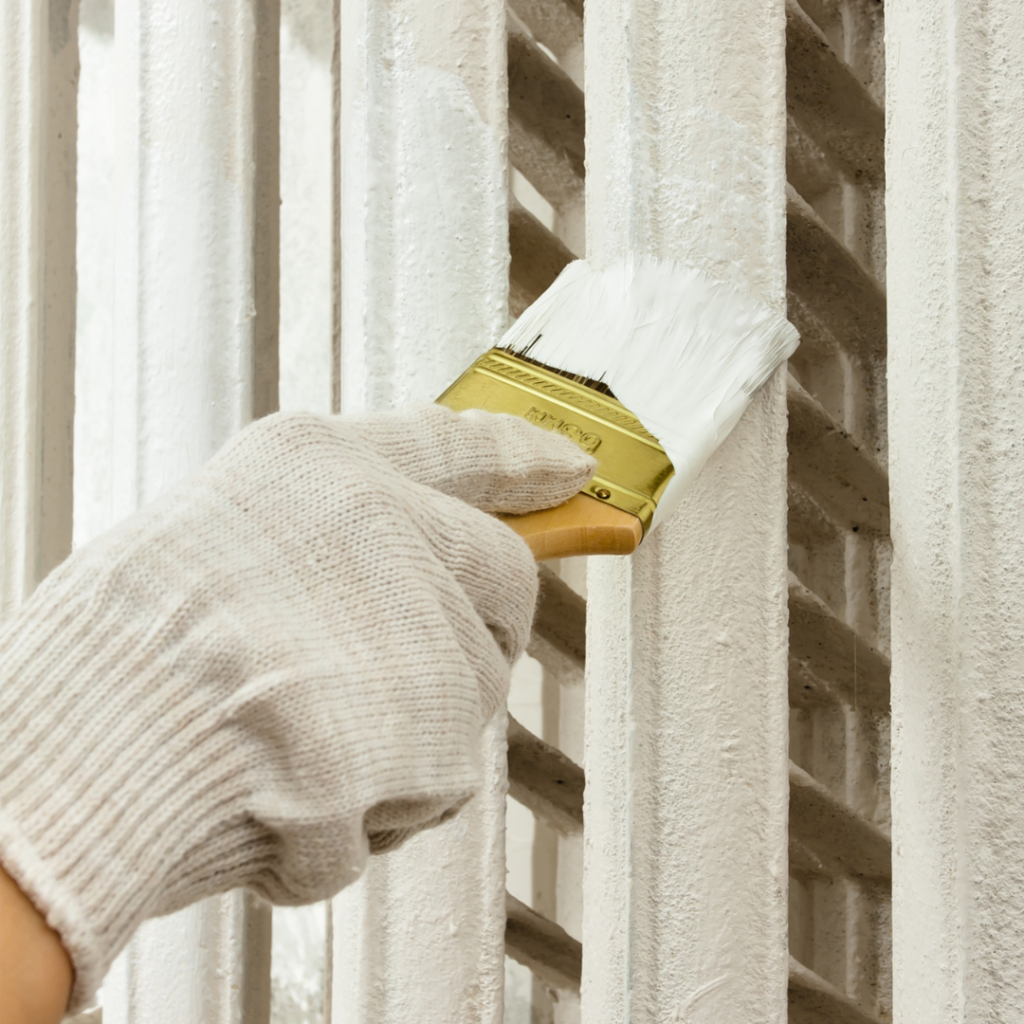
There are two ways to paint a radiator: brush painting or spray painting. Radiator spray paint can be easy and convenient but requires a little more preparation to ensure an easy clean-up. You may wish to use dust sheets and tapes to prevent the spray paint from going anywhere you don’t want it. That said, the application itself is quicker and easier than using a brush.
Both options have pros and cons, so it is important to take the time to decide which metal radiator paint is right for you.
If you're using a brush, stir your paint well before you start painting. Synthetic brushes are great for this. Use long, even strokes and paint in the same direction as the grooves of the radiator for a neat finish.
Step 5: Apply a Second Coat
Wait until the first coat has dried completely before you apply a second coat. Applying a second coat of your chosen radiator paint is important to ensure an even coverage and a smooth finish.
It will also increase the durability of the paint significantly, meaning longer-lasting results!
Be sure to finish with vertical strokes for a cohesive finish (unless your radiator has horizontal bars that is).
How to Paint Behind Your Radiator
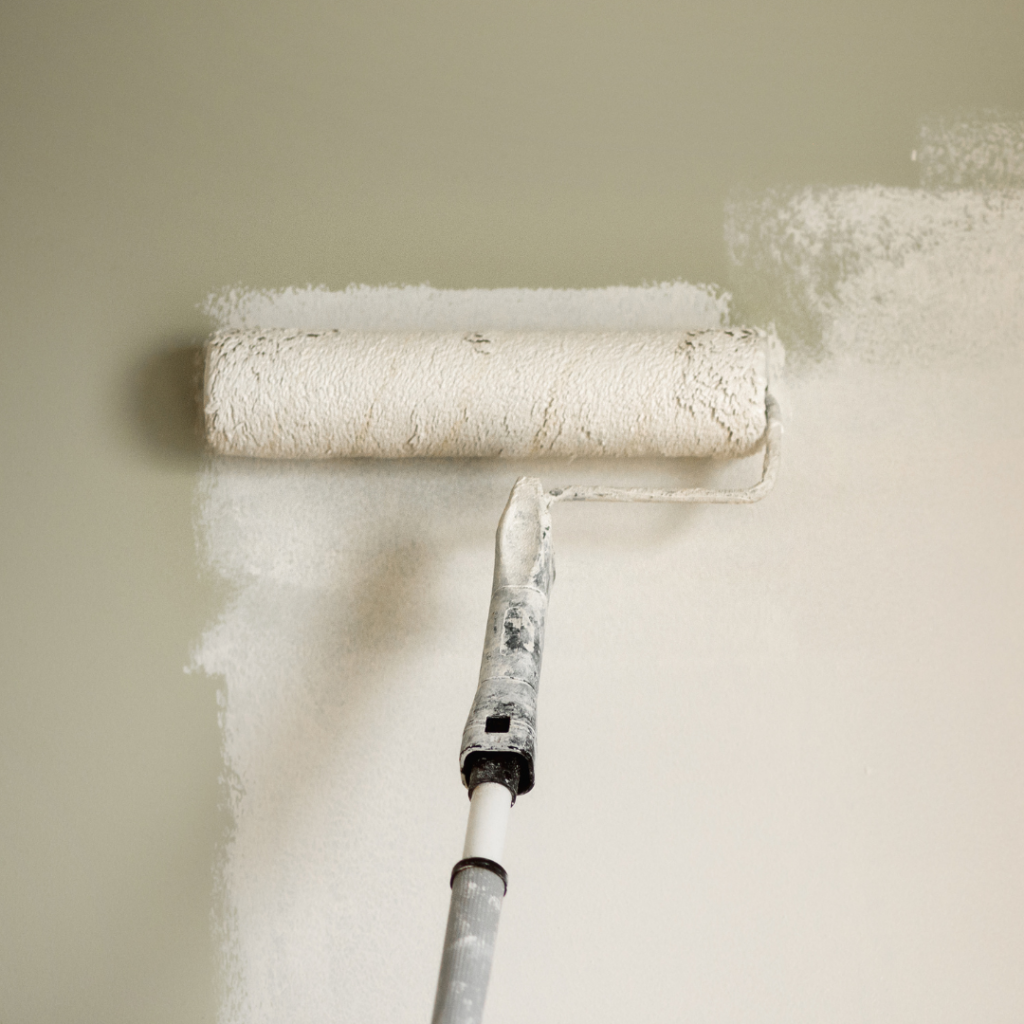
Figuring out how to paint behind a radiator can be tricky, especially because radiator sizes and shapes vary drastically. If you have the knowledge, you can remove the radiator, but there are, thankfully, other ways to do it.
You could just try to get as far as you can behind the radiator with a paint brush, but this would probably only cover the top ⅔ inches. For best results - use a long-handled radiator roller to reach those tough-to-reach spots at the back of the radiator.
When painting, start from the top and work your way down; be sure not to oversaturate your roller with paint and roll down in even strokes.
How to Choose the Best Radiator Paint
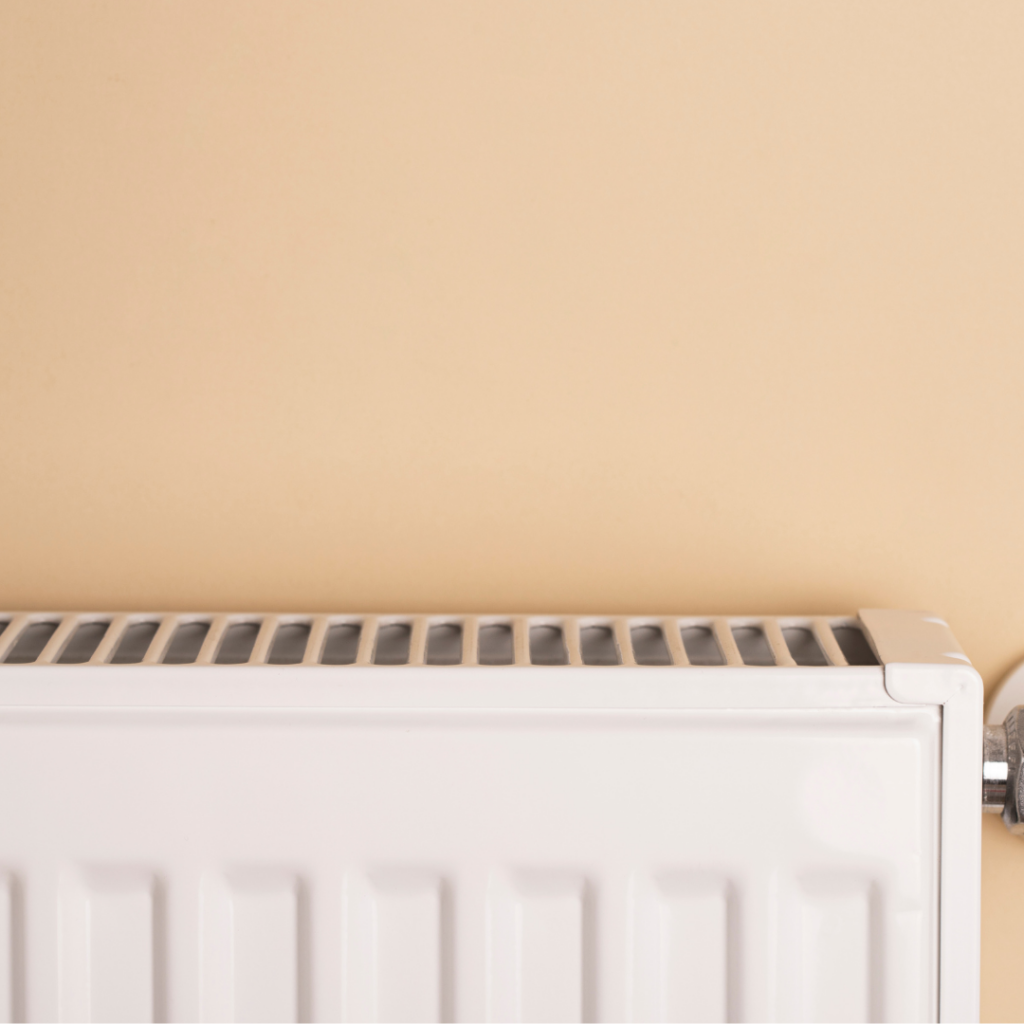
When it comes to choosing the right radiator paint, there are plenty of options to choose from. The first thing to decide is whether you want to use spray paint or regular paint.
From there you need to decide whether you want a water based or oil based paint. Water based has less sheen, and can give you a matte finish. Whereas oil based is shinier and will reflect more light.
The best radiators fit right into the room they find themselves in, so choosing the right colour and sheen is essential. Radiator paint colours should match your room's aesthetic, so they need to be selected carefully. Browse our range of specialist paints to find the right option for you.
Ready to Paint Your Radiator?
If you’re looking for an affordable, easy way to give your room a new look, consider giving your radiators a fresh coat of paint. Follow the steps outlined in this guide for the best long-lasting results.
Visit Woodies.ie to find all the supplies you need, from primers to top-quality paints. Start your DIY project today and give your home that professional finish!
Frequently Asked Questions
Why is the Paint Peeling Off My Radiator?
Radiator paint can peel for a few reasons. Radiators fluctuate in temperature significantly, so it is essential to use a specialised paint that can handle this. Otherwise, the changes in temperature will cause the paint to flake after a short period of time.
It is likely that an improper paint was used on your radiator or else it was not prepared properly before it was painted. It is essential to clean, sand and remove any rust from the radiator before painting. Following steps 2 and 3 of this guide and selecting a suitable radiator paint should prevent this from happening again in future!
How to Remove Old Paint from a Radiator?
Depending on the shape of your radiator, removing old layers of paint can be a time-consuming task!
Start by sanding the surface of the radiator as much as possible. Start off with coarse-grit paper, some elbow grease, and perhaps some protective mouth/eyewear, as this can be a dusty job.
Next, use a high quality paint stripper to remove the remainder of the old radiator paint. Be careful as these chemicals can be potent. After applying the paint strippers the old paint should easily peel off and you can get started on giving your radiator a new look!
