How to Repair a Crack or Small Hole in a Wall
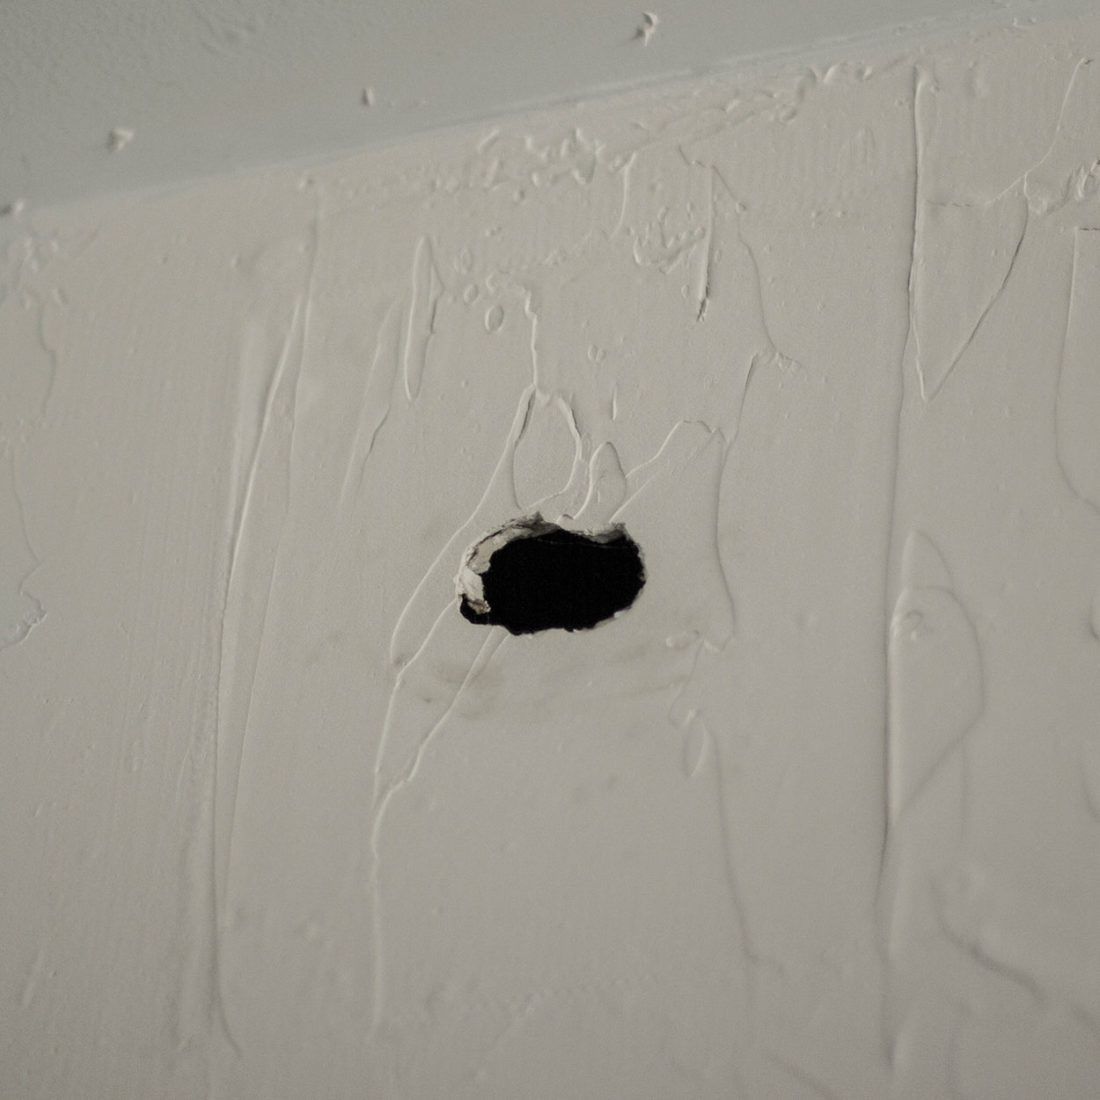
Cracks in your plaster and render are a normal part of home maintenance. As plaster dries, it shrinks and then cracks. Most of the time, the cracks appear after you’ve just done work. They’re frustrating, but these types of cracks and holes in the wall aren’t something to worry about. This guide will teach you everything you need to know to repair a crack or small hole in a wall.
Tools for the Job
How to Fix Hairline Cracks in Walls
Hairline cracks can happen for many reasons. However, they are easily fixed in a few simple steps.
Step 1
Bring the hairline crack to about ⅛” width
A hairline crack can be hard to fill because it’s narrow. Your first step is to use your putty knife to widen the edges of the crack and give you some extra space for the filler to work and support the wall.
Step 2
Brush away dust and dirt
Use a paintbrush or sponge to remove dust or dirt from the hairline crack and the surrounding area.
Step 3
Apply the filler
To fix a hairline crack, use a hairline crack filler. Apply the filler with a paint scraper or putty knife and make sure it covers the whole crack. Allow the filler to dry. Apply a second layer as indicated by the manufacturer.
Step 4
Prime the wall and paint
Finish the job by applying latex primer to the repair area. Follow the paint manufacturer’s instructions and then apply the top coat. Good as new!
How to Fix a Hole in a Plaster Wall
You don’t need any special skills to fix a small hole in a plaster wall. You’ll complete the job in an afternoon, even with drying time.
Step-By-Step.
Step 1: Choose the correct filler for the job
Your first step is to choose the filler that’s right for the repair type.
The type of filler you use will depend on the size and depth of the crack or hole. Always read the instructions on the packaging before applying the filler. There is a wide variety to choose from.
| Repair Type | Filler Type |
| Hairline cracks | Hairline crack filler |
| Deep holes (caused by door handles, punctures | Big hole filler |
| Small holes, including ceiling cracks caused by popped nails | Multi-purpose filler |
| Holes or cracks between two surfaces, like the wall and coving or wall and skirting | Flexible filler |
Step 2: Clean away any dust or dirt
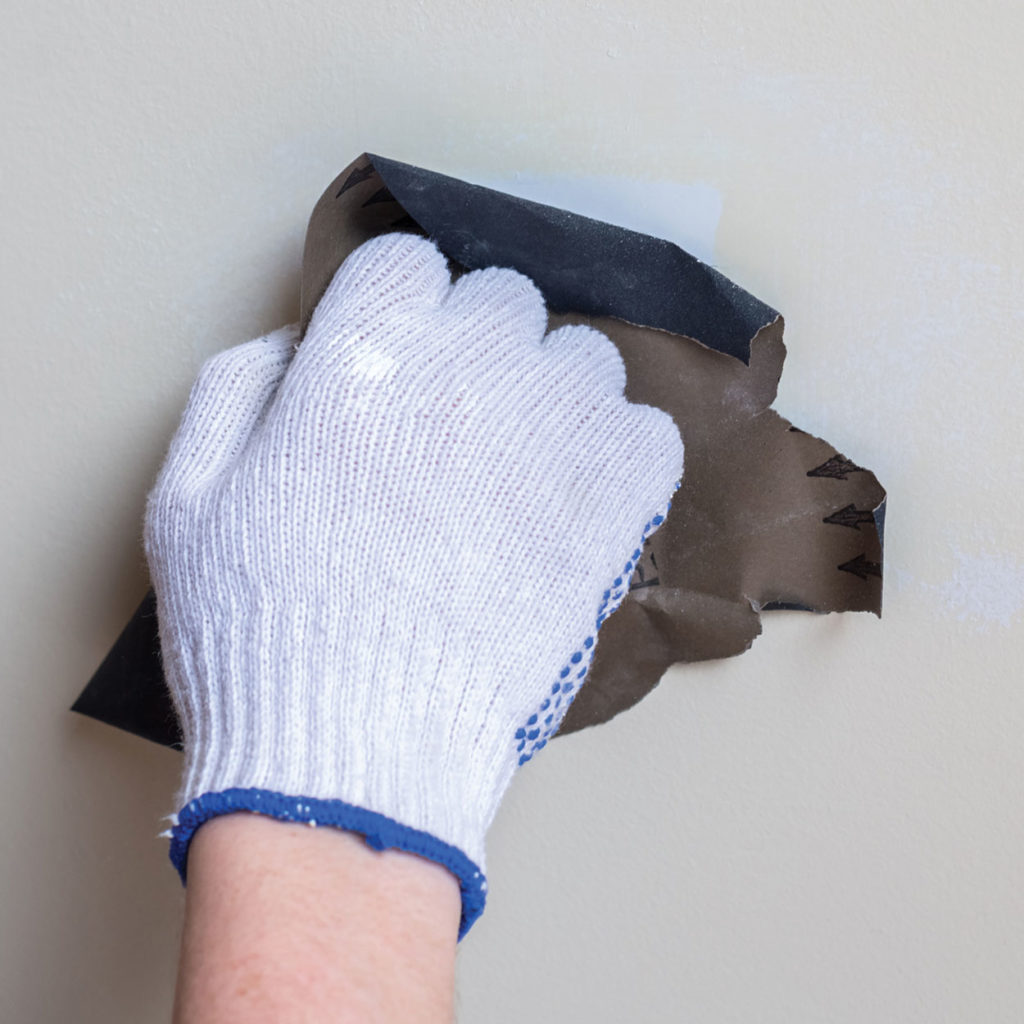
To prepare the wall for filler, you’ll start by cleaning out any dirt in the hole in the wall using a paint brush or a sponge. Then, sand down any rough edges on the crack/hole with sandpaper. Cut away any jagged pieces and remove anything hanging from the damaged area.
Step 3: Apply your chosen filler
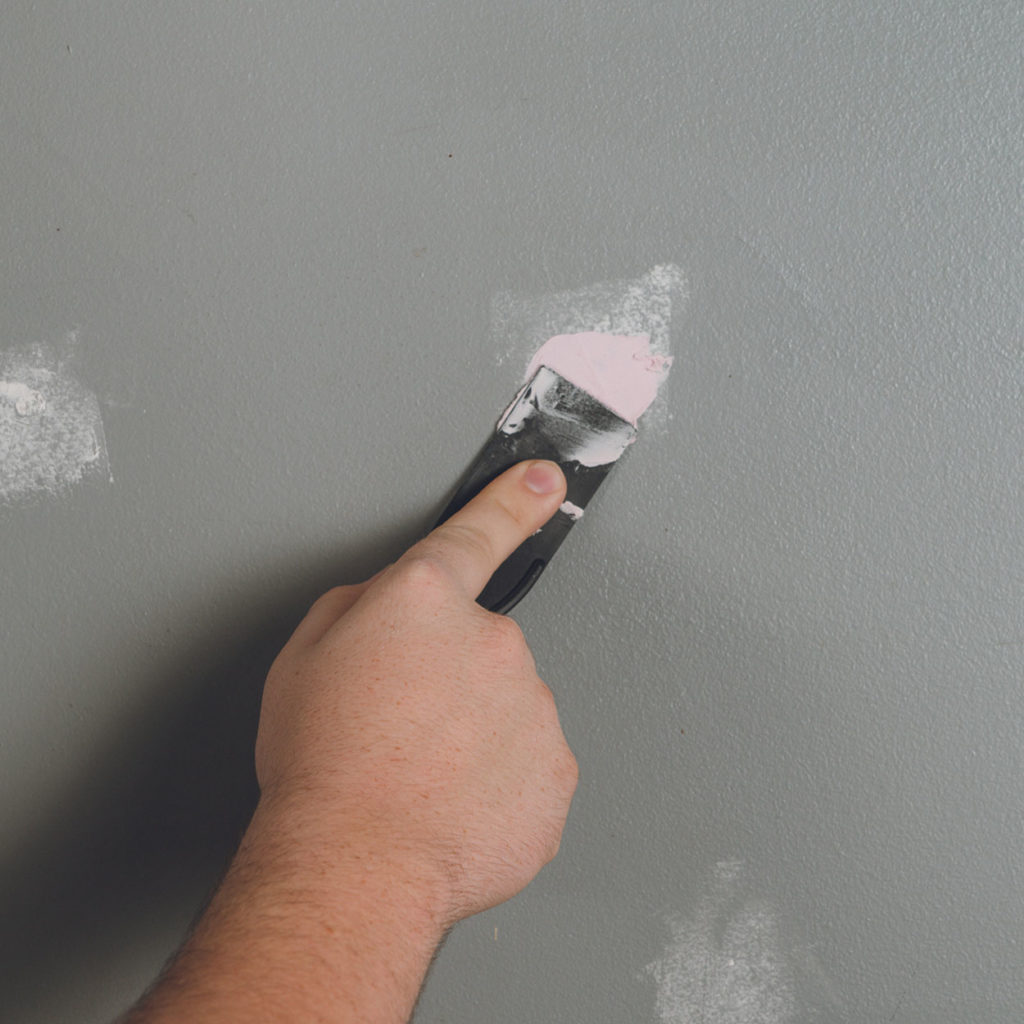
In the next step, you’ll apply the filler. Follow the filler manufacturer’s directions to apply it either with the nozzle on the packaging (for flexible filler) or using a filling knife or paint scraper.
Use a filling knife or a paint scraper to spread the multi-purpose filler over the hole. Apply the filler in small amounts to over-application.
Finishing Touches
Step 4: Let the filler dry
Leave the filler to dry for the time indicated by the manufacturer. The typical time to surface dry is 1-2 hours.
Step 5: Sand the filler to prepare for painting
Put on your dust mask and use sandpaper to sand down the filler so it’s flush with the wall. The sandpaper will get rid of any imperfections on the repair and will also help the repair blend in with the rest of the wall, which all prepares it for painting.
Step 6: Prime and the wall
Apply primer to the repair and allow it to dry before painting it with the topcoat.
FAQs
Can I Paint Over Hairline Cracks?
Yes, you can paint over hairline cracks, but you should always fill them first, especially if you don’t want the crack to reappear.
There are specialist primers available on the market for filling in hairline cracks, but there are very few and tend to only be available in limited circumstances. It’s just as easy to buy some hairline crack filler and fix it yourself!
Tip: Can you caulk hairline cracks? No, caulk is not what you need either. Again, hairline crack filler is your best bet for smoothing the surface.
How do You Stop Walls Cracking?
The truth is that you can’t stop plaster and lath from cracking. The nature of plaster means it can expand and shrink over the course of its life. Some of the causes for cracks in walls include:
- Drying out after a house is newly built
- Settling over time as foundations shift
- Lacking climate control, such as if you have a holiday home or your home sat for a few months before you moved in
However, sometimes cracks can also happen as a result of:
- Leaks and resulting water damage
- Issues with the taping
- Foundation damage
Should I be Worried About Cracks in Walls?
Cracks are part of the aging process, and most of the time, they’re an eyesore but not much to worry about. Here’s how to tell if the crack could be a bigger problem:
Look to see what direction the crack travels. A vertical or horizontal crack that runs at ⅛” thick is likely the sign of aging or settling, particularly if it’s around a door or window.
However, if the cracks carry on at an angle or look like a series of steps going up your wall, then it could be a sign of a structural issue. The same is true if the crack appears wider than ⅛”.
You can find everything you need to repair a hole or small crack in your wall at Woodie’s.
These methods serve as a guide only. We encourage you to take full caution when undertaking any project within the home.

- DIY & Building
DIY Interior Wall Panelling Guide
- DIY & Building
How to Bleed a Radiator

- DIY & Building
How the Fuse Box Works in the Home

- DIY & Building,
- Bathroom & Plumbing
How to Clean a Glass Shower Door: A Step-by-Step Guide
- DIY & Building
How to Drill & Fix to a Plasterboard Wall
- DIY & Building
