Everything You Need To Know About Textured Paint
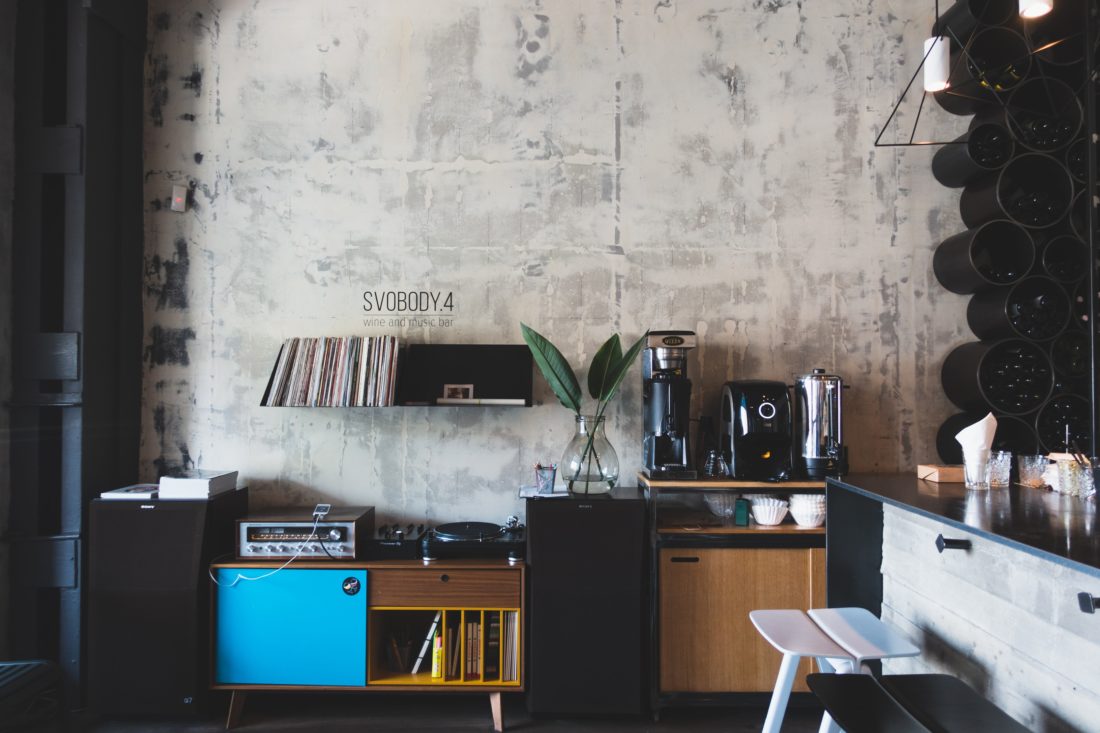
Perhaps one of the best-hidden secrets of the painting and decorating world, textured paint can transform the look of a room instantly – and whether you’re going for a sleek, modern look or a charming, rustic finish, there’s a textured paint out there for you.
Textured paint isn’t just for adding a stylish finish to your interior, though; it’s a great option for hiding imperfections on walls, too. From adding texture to paint using a roller or brush to the different types of wall paint textures you can achieve, the options are endless, and can mostly be done using everyday painting and decorating supplies.
What are the benefits of using textured paint in my home?
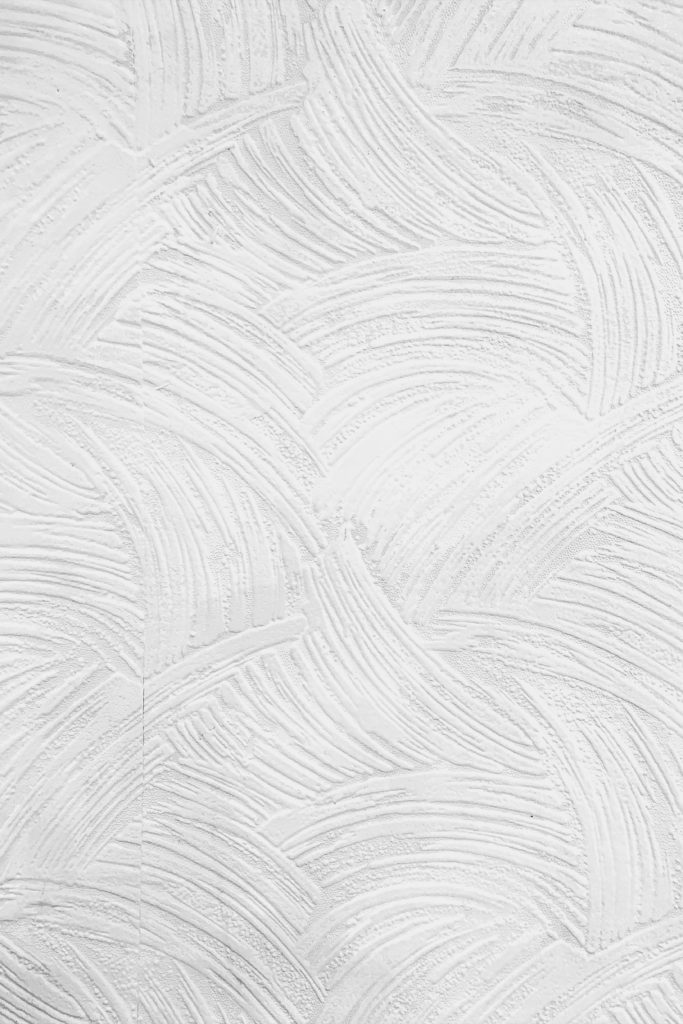
Textured paint is wonderful for a variety of reasons, whether you’re looking to hide unsightly imperfections on your walls, take the interior style of your home to the next level, or are just in need of a change.
Textured paint can hide imperfections and bad walls
From cracks to lumps and bumps, walls can fall prey to any number of imperfections and can be particularly difficult to repair in older houses. Luckily, textured paint is ideal for hiding these imperfections on your wall and can be applied easily. Depending on the type of textured paint finish you choose, you can paint over cracks, uneven wall surfaces, and damage to the plaster to distract the eye and give your walls a more attractive look.
Adding a texture paint finish to walls wins major style points
Aside from the practical benefits of textured paint, it simply looks great and can transform the vibe of your interior instantly. A textured wall finish is a perfect way to personalise your home and sets a beautiful backdrop for the rest of your furnishings.
Using textured paint on masonry can boost durability and cover fine cracks
For exterior masonry, textured paint boasts a myriad of benefits. Compared to smooth masonry paint, textured masonry paint tends to be more durable, more resistant to dirt, and longer-lasting, plus its flexible nature means it can cover small cracks in the stone effectively.
How to prepare your walls for textured paint
There are a few different options when it comes to adding texture to your walls, from premixed textured paint to adding texture with a simple paint roller. Whatever you choose, preparation is key to getting a professional finish and long-lasting results – so make sure you stock up on decorating supplies before you begin.
Essentials you will need to start painting:
- Dust sheets
- Masking tape
- Paint brush, roller, or tool of choice
- Primer if needed
- Paint of choice (eggshell, satin, and latex paint work best)
- Translucent glaze
Step 1: Decide where and how you want to add texture
Choose which area you want to focus on before you start painting, whether it’s a feature wall, a ceiling or an entire room. Decide how you want to add the texture – do you want to purchase a ready-made textured paint, mix the texture into the paint yourself, or create it using a tool?
Step 2: Experiment with your textured paint
Once you’ve chosen your finish, it’s a good idea to experiment with a few sample patches before taking on your chosen area. Try out different application methods on a piece of plasterboard or wallpaper to see what works best for you.
Step 3: Prepare your room for painting
Cover flooring with dust sheets to protect it from accidental paint splashes, and cover any areas you don’t want to paint with masking tape.
Step 4: Prepare your wall
Clean your surface thoroughly in preparation for the textured paint, making sure there’s no dirt or dust on it. Sand down any lumps or flakes of old paint.
Step 5: Apply a base coat of paint or a primer
Most textured walls work best with a base coat of paint and some even require a specific primer. Apply a base coat and allow it to dry completely before applying your textured paint, or alternatively check the manufacturer’s instructions for which primer to use if you’ve bought ready-made textured paint.
Is it best to add texture to walls using textured paint or tools?
The simplest way to add textured paint to your walls is to buy a ready-made textured paint, but if you can’t quite find the finish you want or are looking for a more cost-effective solution, mixing your own textured paint or using a tool to create your desired effect is a great way to go – plus it opens up a world of possibilities, as you can choose any interior paint colour you want!
How to paint a textured wall using painting tools
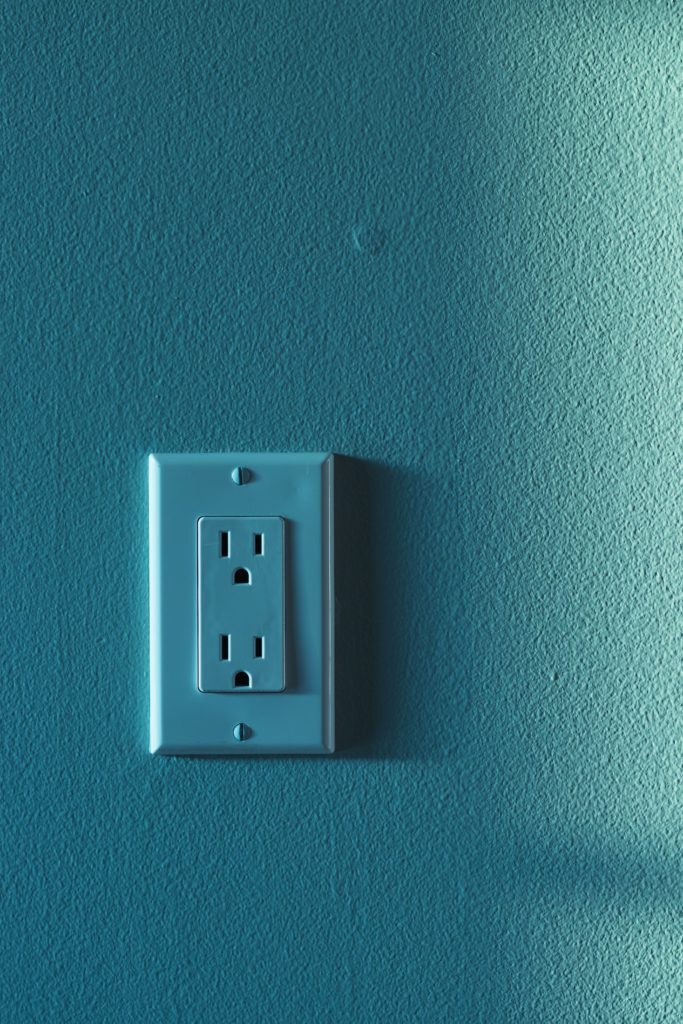
From rollers to sponges, you can get creative with painting tools to add texture to paint.
Adding texture to paint with a roller
One of the simplest ways to add texture to paint is using a paint roller. There are a few options out there, but typically the best roller for textured paint is one with thick, shaggy fibres. Apply your base coat and let it dry, then simply roll on a second thick layer of paint, and once it has started drying just slightly, clean your paint roller and roll over it again. The roller will grab little bits of paint and create a subtly textured finish across the surface of the wall.
Creating a textured paint effect with a brush
Similar to the roller technique, to create a textured wall using a brush, apply a base coat of paint to your wall and let it dry. Apply a second thick coat and once it has started drying slightly, create a pattern across the top using a brush. Coarse bristle paint brushes work best for creating textured walls. Using vertical brush strokes will result in a subtle wood grain effect on your wall.
Adding texture to paint with a sponge or cloth
Similarly, you can create a textured paint effect using a sponge or cotton cloth. After your base coat is dry, dab on your second coat of paint using a large sponge or scrunched-up cloth. If your first coat is thin or streaky, apply two layers of base coat to ensure even coverage.
What different types of wall paint textures are there?
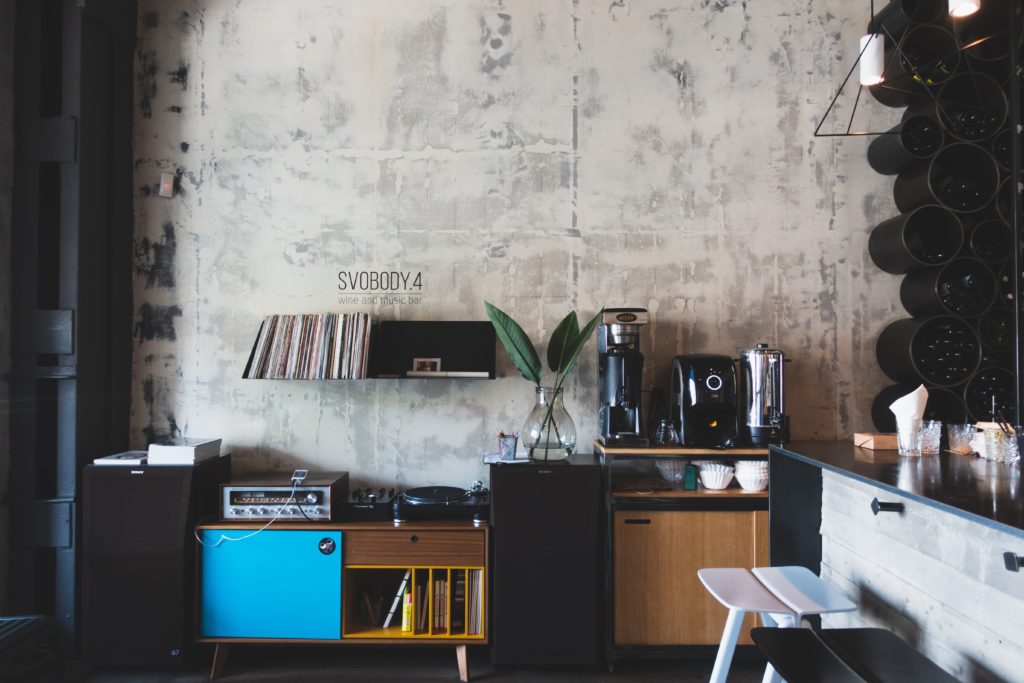
Adding texture to paint yourself is also a great opportunity to create a truly bespoke feature in your home and get imaginative with finishes.
Leather texture paint
Although it’s a little more time-consuming to create, leather texture paint is truly eye-catching on walls. For this, you’ll need two shades of paint, one light and one dark, and a large sheet of soft plastic. Use the light-coloured paint as your base coat and let it dry. Mix your darker shade of paint with translucent glaze (about four parts glaze to one part paint) and roll onto the wall – don’t worry about applying it perfectly, a few gaps will add to the effect.
Crinkle up the sheet of plastic, then place it onto the painted surface while it’s still wet. Roll over the top of the plastic with a clean, dry roller, then peel off carefully. You should be left with a leather effect.
Suede texture paint
For a suede texture paint effect on your walls, apply a primer and base coat layer first. Once your walls are fully dry, mix one-part paint with three parts glaze. Take a clean, dust-free cotton cloth and start pressing it into the paint, rolling it along the wall with each press. The result is a soft, suede paint effect.
Sand texture paint
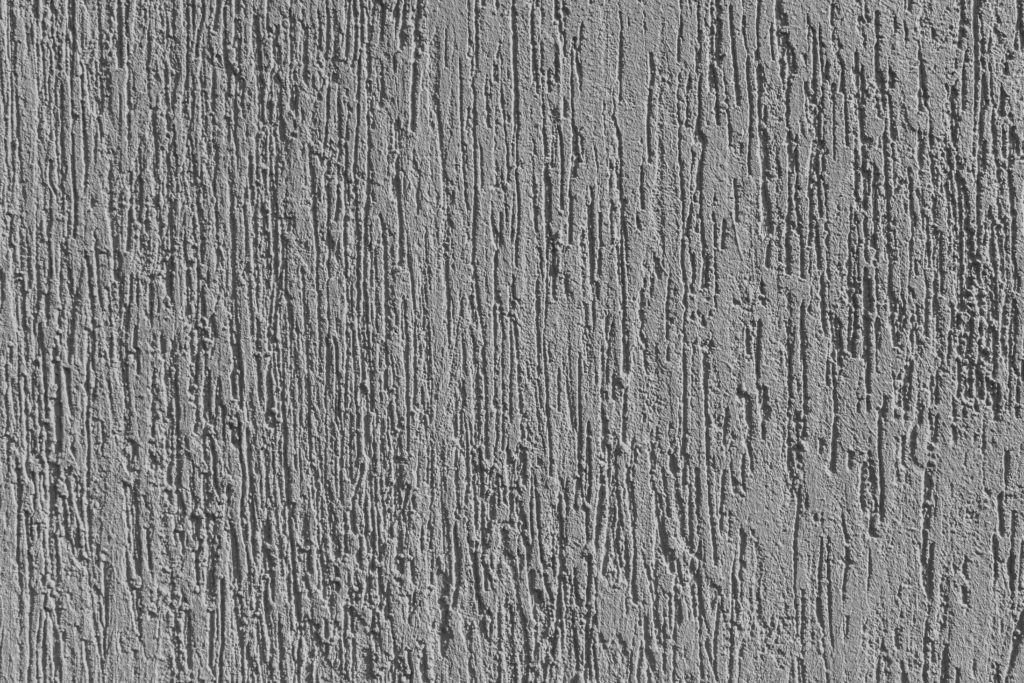
Perhaps one of the easiest ways to create a textured wall, sand or rough texture paint is easily mixed at home. For this, you’ll need silica sand (specifically made for mixing with paint) and the paint colour of your choice. Experiment with mixing ratios until you get the texture you desire, then apply on top of primed walls.
Top tips for textured paint
- Get creative – look for inspiration online for different textured paint types
- Work in small, manageable sections when applying textured paint
- Try a feature wall first if you’re indecisive about where to add textured paint
- Set aside a good chunk of time to complete your textured paint project
- Choose a more subtle texture if you like to change things up regularly
Textured paint FAQs
Still wondering what kind of textured paint to choose? Here are a few more considerations.
Do I need to apply a primer before using textured paint?
Some textured paints require a paint primer before application – it’s best to check the manufacturer’s instructions on the specific paint you want to use. For most textured paints, a base coat of paint is recommended to ensure you get the best coverage.
Can textured paint cover imperfections on my walls?
Yes, textured paint is ideal for hiding imperfections on walls. For light imperfections, a subtle textured paint effect should do the trick. More pronounced imperfections on walls, such as hairline cracks, will benefit from a rough texture paint.
Can I paint over hairline cracks with textured paint?
You can paint over small hairline cracks with textured paint, but for deeper cracks, it’s always best to fill or replaster them first.
Can I use a paint roller to add texture to walls?
Absolutely, a paint roller is a great tool for adding texture to paint. Our guide above shows you the method you can use to create a textured wall using a paint roller.
Can I use textured paint on ceilings?
Yes! Textured paint works well on ceilings. Simply pick one of the methods for adding textured paint to walls and use it for your ceiling.
How do I cover textured paint when I want to get rid of it?
Covering or removing textured paint can be done in a few different ways, ranging from easy to difficult depending on the texture you’ve applied. Subtle paint textures, such as those applied using regular paint with a sponge or roller, can be sanded down, then primed and repainted. Rough texture paint needs a little more effort to be removed, with options ranging from having a skim coat applied to get rid of the texture to having the wall replastered.
What’s the difference between smooth and textured masonry paint?
Smooth masonry paint is relatively quick-drying and provides a smooth finish to exterior masonry and stonework. Textured masonry paint, however, is far superior at hiding cracks and other damage to masonry; it tends to be more durable and longer-lasting too.
Can I use textured spray paint?
Textured spray paint is available in a variety of finishes and is great for small areas, furniture or other small projects.
Shop painting supplies at Woodie’s >>
Read more about painting and decorating:

- Paint & Decorating
A Guide to Picking the Perfect Colour for Your Home’s Exterior
- Paint & Decorating
A Step-by-Step Guide on How to Paint a Ceiling
- Paint & Decorating
Everything You Need to Know About Buying Paint
- Paint & Decorating,
- Home Décor
How To Paint Interior Walls
- Paint & Decorating
How To Paint Stairs: Everything You Need to Know
- Paint & Decorating
